
Have you ever felt like something is missing after you’ve recorded an incredible vocal track capturing the essence of your music? Your vocals yearn for that extra touch of magic. They may lack sparkle, polish, and studio finish that takes them from ordinary to extraordinary. The professional touch of vocal presets can be the solution to elevate your music. So, let’s look at installing vocal presets on FL Studio.
Step 1: Download and Extract the Vocal Preset File
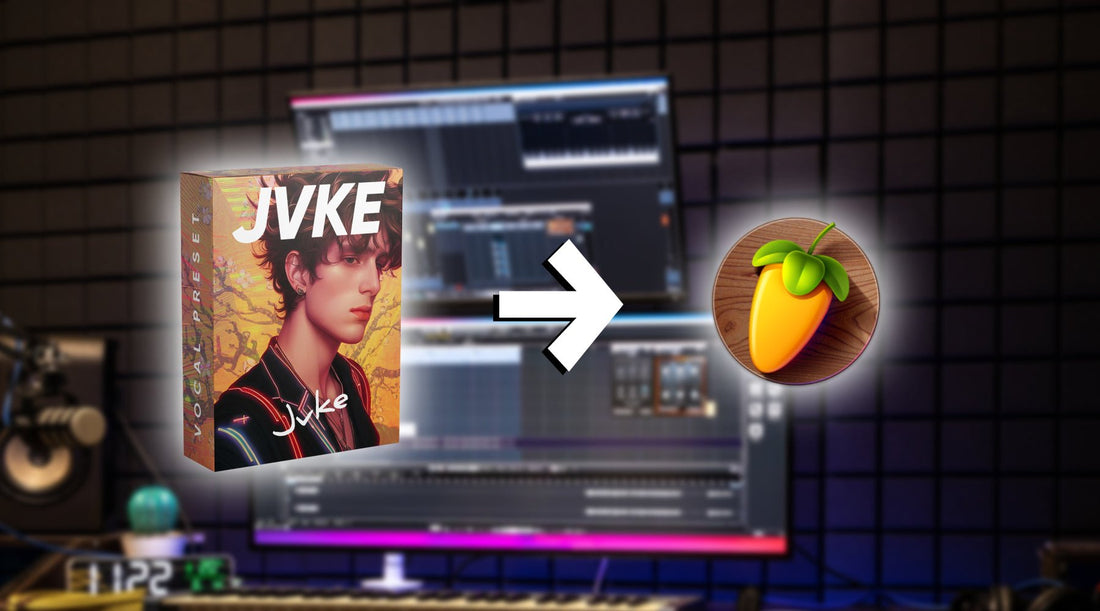
First, you need to find a vocal preset that catches your attention. We have many vocal presets on our site. Once you find what you’re looking for, hit download. Vocal presets are often compressed into zip format, so you must extract the content after downloading.
Step 2: Navigate to the FL Studio directory
Locate the FL Studio directory through Finder or Explorer and move your preset files to the “Mixer Presets” folder. This step is crucial as it allows FL Studio to identify the preset files as presets. You can follow this path on your computer,
For Mac users:
MacintoshHD/Users/Account/Documents/Image-Line/FL Studio/Presets/Mixer presets
For Windows:
C:/Users/Username/Documents/Image-Line/FL Studio/Presets/Mixer presets
However, the location and path may vary depending on how you installed the software and your version.

Step 3: Launch the Latest Version of FL Studio
Now that you have the vocal preset file ready, it's time to fire up FL Studio on your Mac or PC. We’re using FL Studio 20.9 in this tutorial and recommend using the latest version for the best experience. You can follow along with any version you’re comfortable with.
Step 4: Apply the Presets to Your Vocal Track
Add a new track or load an existing one within the project to apply the preset. You'll find the Mixer section on the top left of the screen. It’s a small wave-like icon. Click on it. Or you can Navigate to View>>Mixer.
Within the mixer section, click on the "Mixer Presets" button to reveal the available presets on your computer. Remember the folder location from Step 2? It is where you'll find the vocal preset files you extracted earlier.
Simply drag and drop the desired vocal preset from the “Mixer Section” onto your vocal track, and you’ve got studio-quality audio.


Step 5: Adjust the Settings (optional)
Presets are not set in stone, so you can adjust some variables to suit your preferences. Hit and trial the EQ, pitch correction, and reverb to style your vocals perfectly.

This step is optional and only sometimes necessary. The professionals crafting these vocal presets have already fine-tuned the settings perfectly, so they integrate seamlessly into your audio.
If you follow the outlined steps, you'll breeze through the installation process of vocal presets on FL Studio. Tune your mic and let your creativity flow with these vocal presets.